How to create email accounts on NetNGN.com

How to create email accounts on NetNGN.com

This tutorial will guide you on how to create your email accounts.

First thing to do is to visit your account management portal by clicking here , login using your credentials provided with the welcome email.

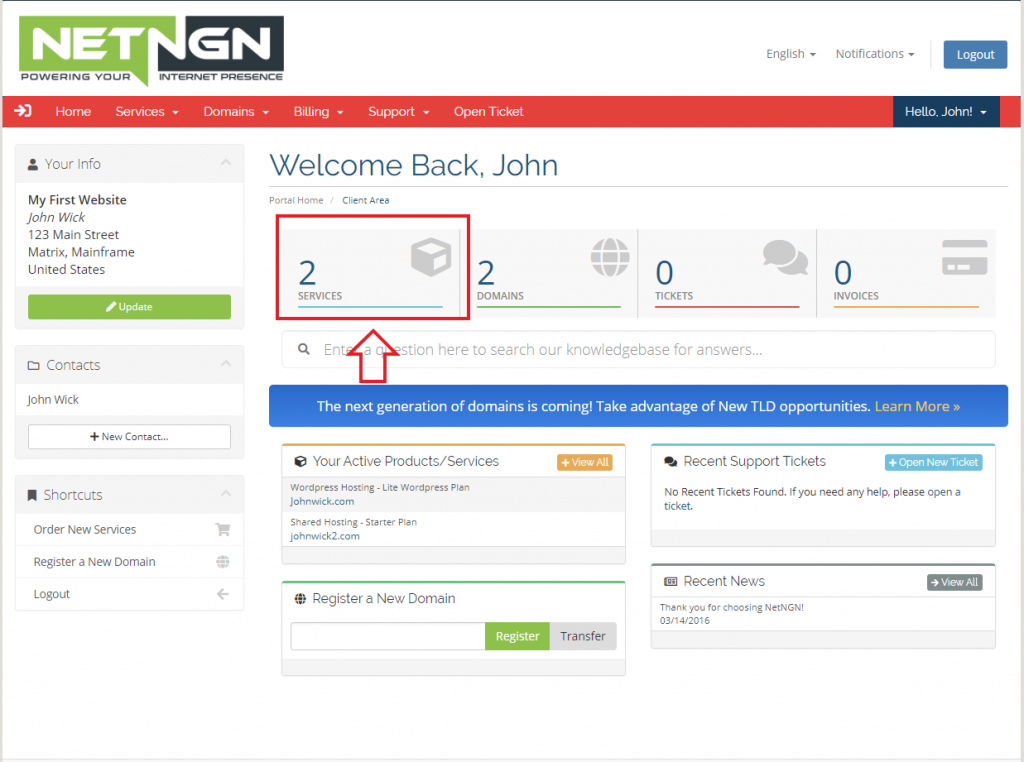
Once logged in you can see your dashboard.

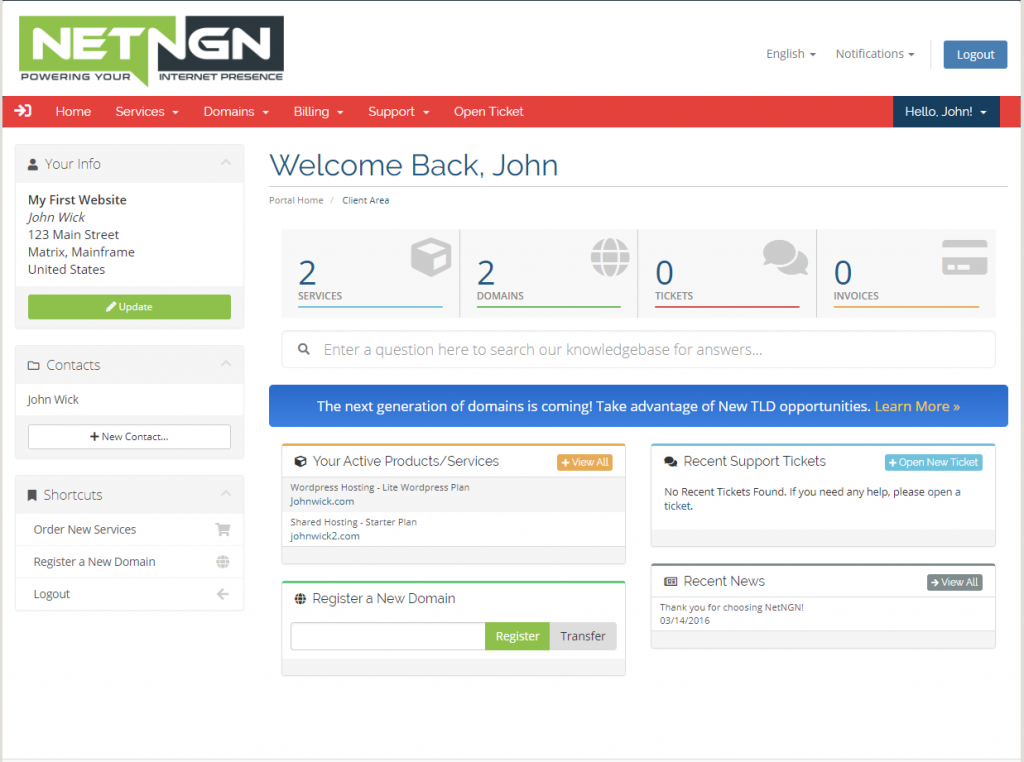
Now click on the services panel

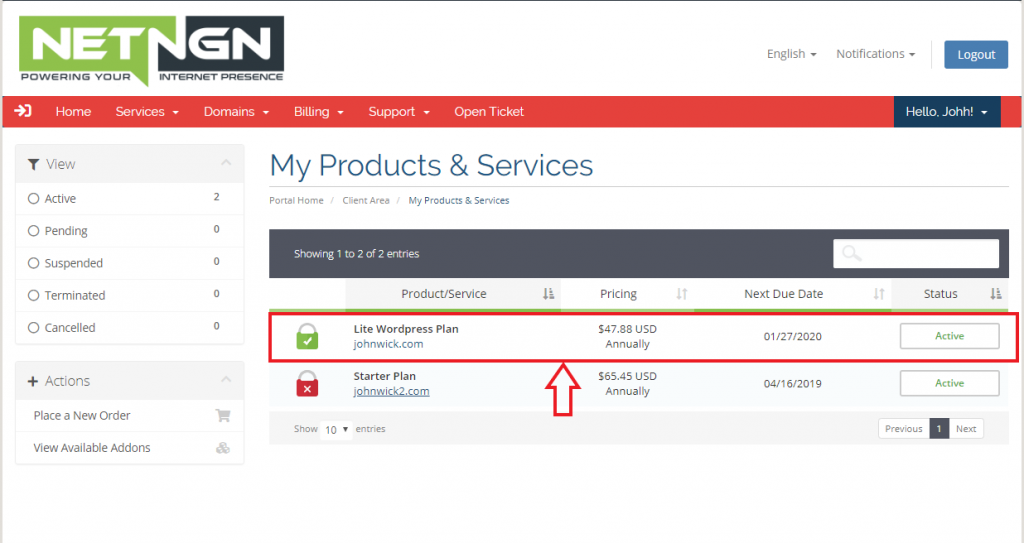
This will show your subscriptions. Now click the subscription row you would like the new email account on.

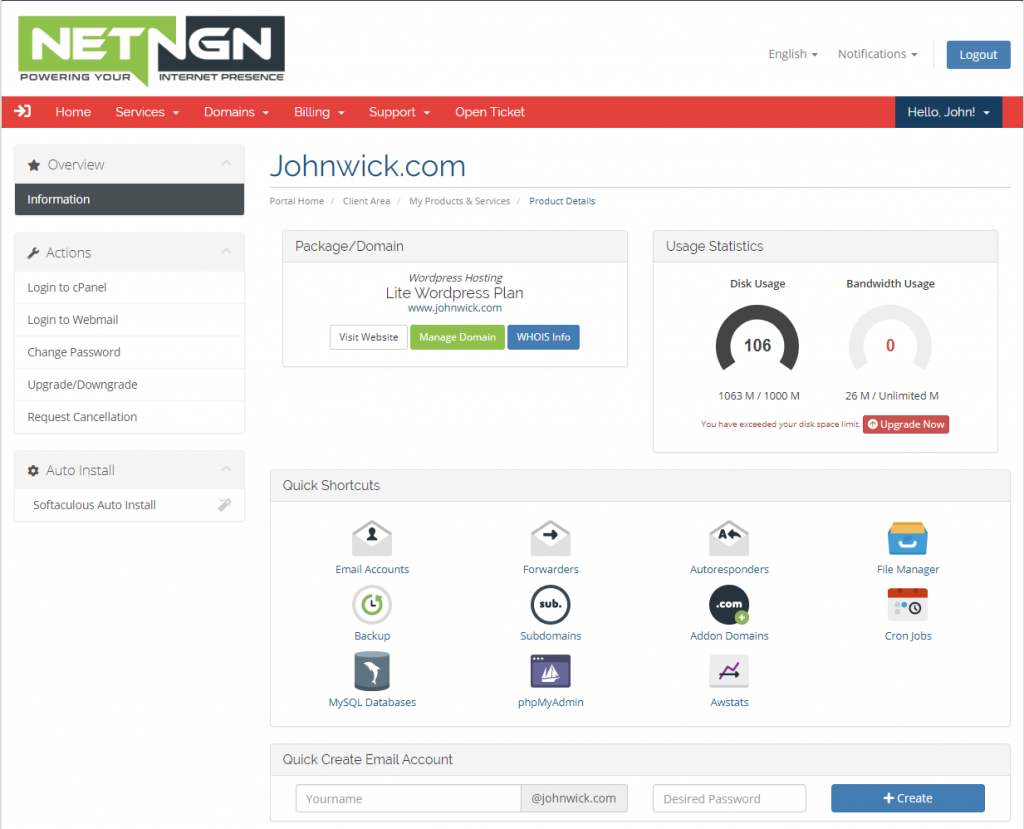
Once you click on the row, you will presented with the details of your account.

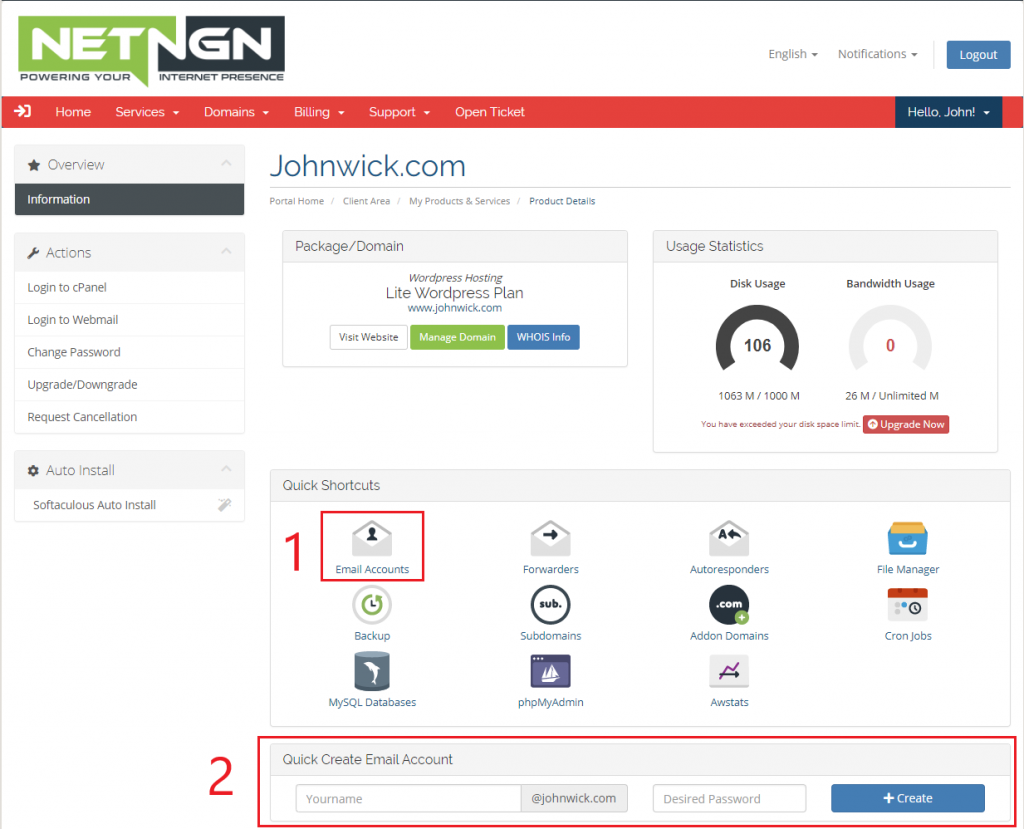
If you wish to manage your email accounts in more details, click “Email Accounts” panel (1).

If you wish to quickly create a new email address, click the “Quick Create Email Account” (2). Enter your desired email address and password.

Its that simple.

Thank you for being a great customer.

How to setup mail on your Android

How to setup mail on your Android

Note:This guide is compatible with Android 4.0.


Tap the Applications icon.

Generally, the Applications icon appears in your device’s main screen.

The Applications screen will appear.


Tap Email.

In the Applications screen, tap Email.

The Account setup interface will appear.


Enter your email address and password, and tap Manual setup.

Enter your full email address and password in the Account setup interface’s text boxes.

Tap Manual setup to proceed to the next screen of the Account setup interface.


Tap the account type.

Tap the desired account type. The next screen of the Account setup interface will appear.

Note:

We recommend that you select the IMAP mailbox type. If you select the POP3 mailbox type, the mobile device’s email client will download all of the account’s email messages, and then remove the messages from the server. You will not be able to access those messages from any other email client.

Enter your account information and tap Next.

Enter the following information in the Account setup interface’s text boxes:

  • In the Username text box, enter your email address.
  • In the Password text box, enter the password for the email account.
  • In the IMAP server text box, enter the mail domain for your email account.
  • In the Security type text box, select SSL/TLS. This setting automatically sets the correct port.

Note:

Do not configure the IMAP path prefix setting.

Tap Next to proceed to the next screen in the Account setup interface.


Enter your server information and tap Next.

Enter the following information in the Account setup interface’s text boxes:

  • In the SMTP server text box, enter the mail subdomain for your email account.
  • In the Security type text box, select SSL/TLS. This setting automatically sets the correct port.
  • Select the Require sign-in checkbox.
  • In the Username text box, enter your email address.
  • In the Password text box, enter the password for your email account.

Tap Next to proceed to the next screen in the Account setup interface.


Select your email preferences and tap Next.

Select the checkboxes that correspond to your desired email preferences.

Tap Next to proceed to the next screen in the Account setup interface.


Enter your account and display names, and tap Next.

Enter an account name and display name in the interface’s text boxes.

Tap Next to complete the setup process.