

How to Install WordPress using Softaculous
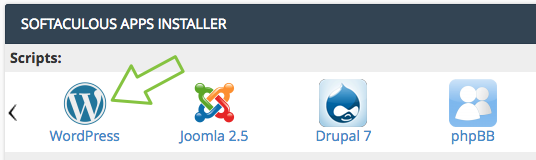
First, log into your cPanel account, click here to find out how, & locate the Softaculous installer as shown below & click the WordPress icon.

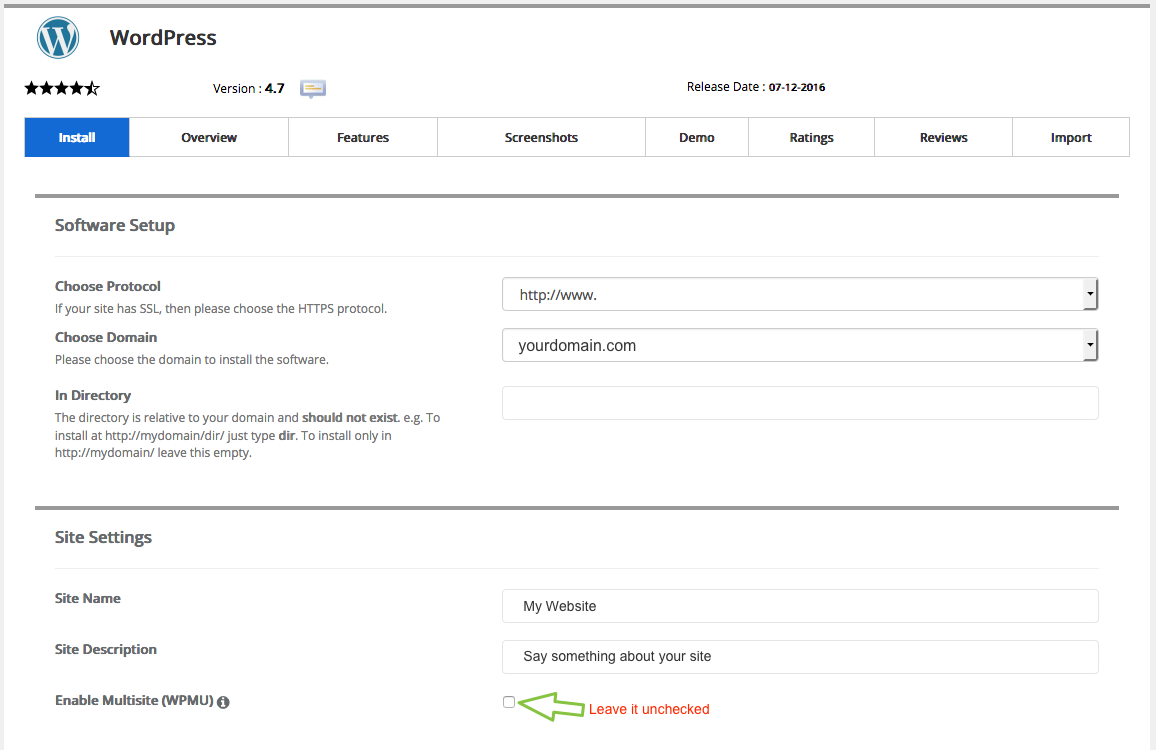
From here, you will have a few options to choose from. You will be able to select the domain to install WordPress on (if you have multiple addon domains) as well as the directory. If you want WordPress to be installed in a sub-directory, you can specify it in place of the “wp” shown in the directory field. This means you will go to http://yoursite.com/wp to view the WordPress site. If you want WordPress to be displayed in the root ie: http://yoursite.com, you would need to remove the “wp” from the directory field and leave it empty.
In addition to the above options, there are additional options that we recommend changing from the default settings:
Username: Enter in a stronger username that is not easily guessed. For example, many hackers & malicious users know that most people simply choose “admin” as the default username. This means they now only have to guess the password.
Password: It’s also recommend to use a strong password with uppercase, lowercase, numbers & special characters. At least 10-15 characters is recommended.
Admin Email: Enter your email address.
Limit Login Attempts: For security reasons it is recommended to check this box.
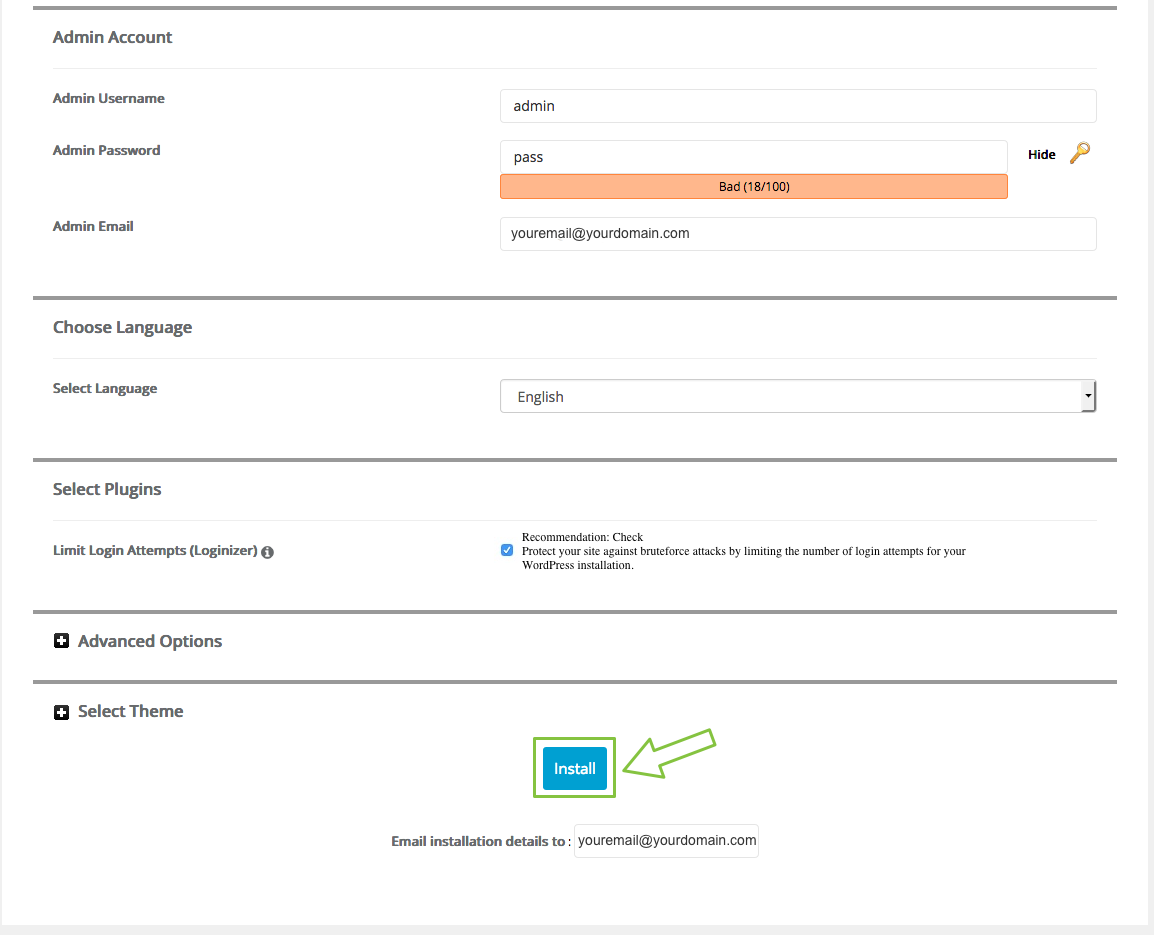
Once all the details are filled, click the “Install” button and softaculous will begin the install:
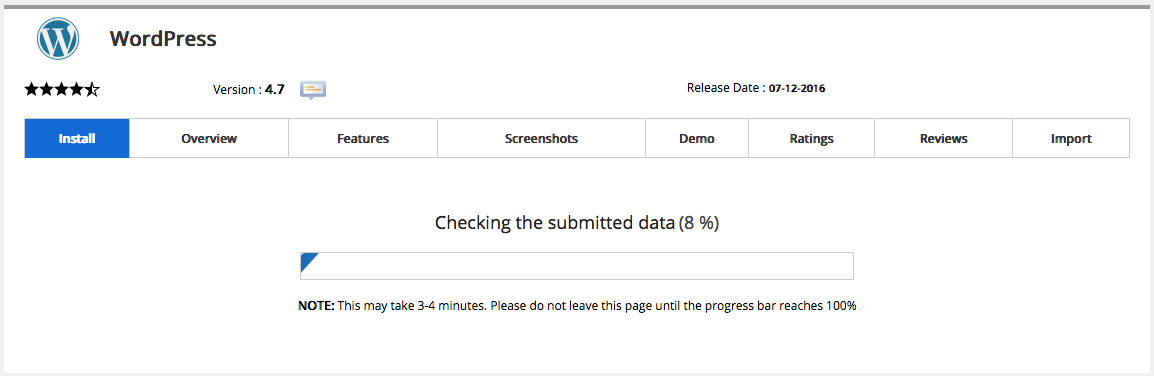
When the installer is completed you will see this window:
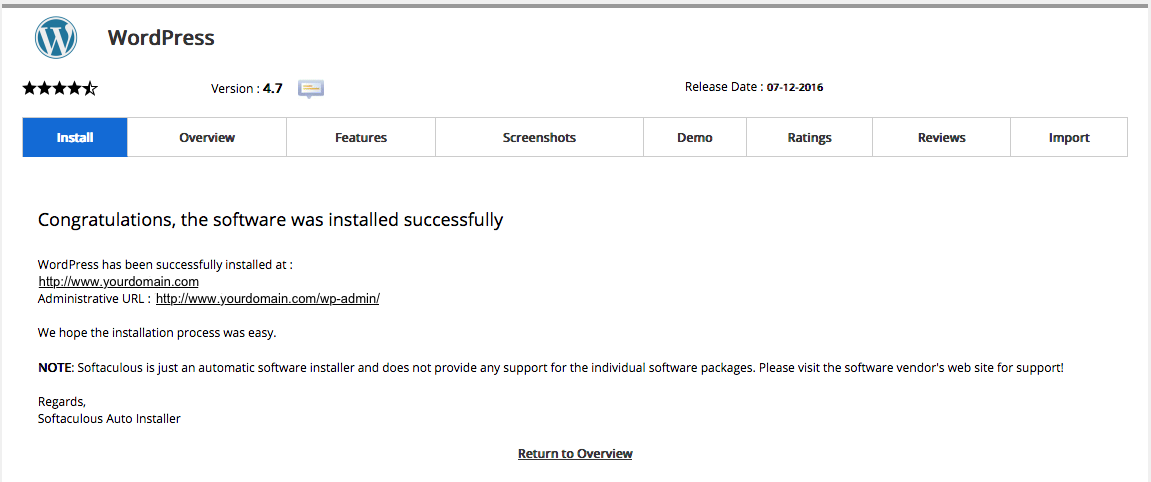
Congratulations, you have installed WordPress on your server!